With the rapid evolution and proliferation of different cloud services, many organizations have decided to move parts of their infrastructures from on-prem to cloud. As an essential part of your infrastructure, Zabbix is no exception – you always have the option to either deploy Zabbix on-prem or select from one of the many supported cloud service providers to deploy your Zabbix Server or Zabbix Proxy on.
In this blog post, let’s look at how we can quickly deploy Zabbix Server and Zabbix Proxy nodes in Amazon Web Services cloud platform.
Deploying the Zabbix Server in AWS
Let’s begin with the Zabbix download page. Under the Zabbix Cloud Images section, select the AWS cloud vendor and then the Cloud Image you wish to deploy. Let’s start with Zabbix Server 5.0 with MySQL DB backend and Nginx Web server backend for our frontend.

Next, we will be redirected to the AWS marketplace, where we will have to subscribe to the Zabbix Server 5.0 image.

Once we have subscribed to the Zabbix Server image, we can continue with the deployment configuration.
Next, we must select our Region, Zabbix minor version (usually the latest available), and the Fulfillment option. Once that is done, we can finalize the launch configuration.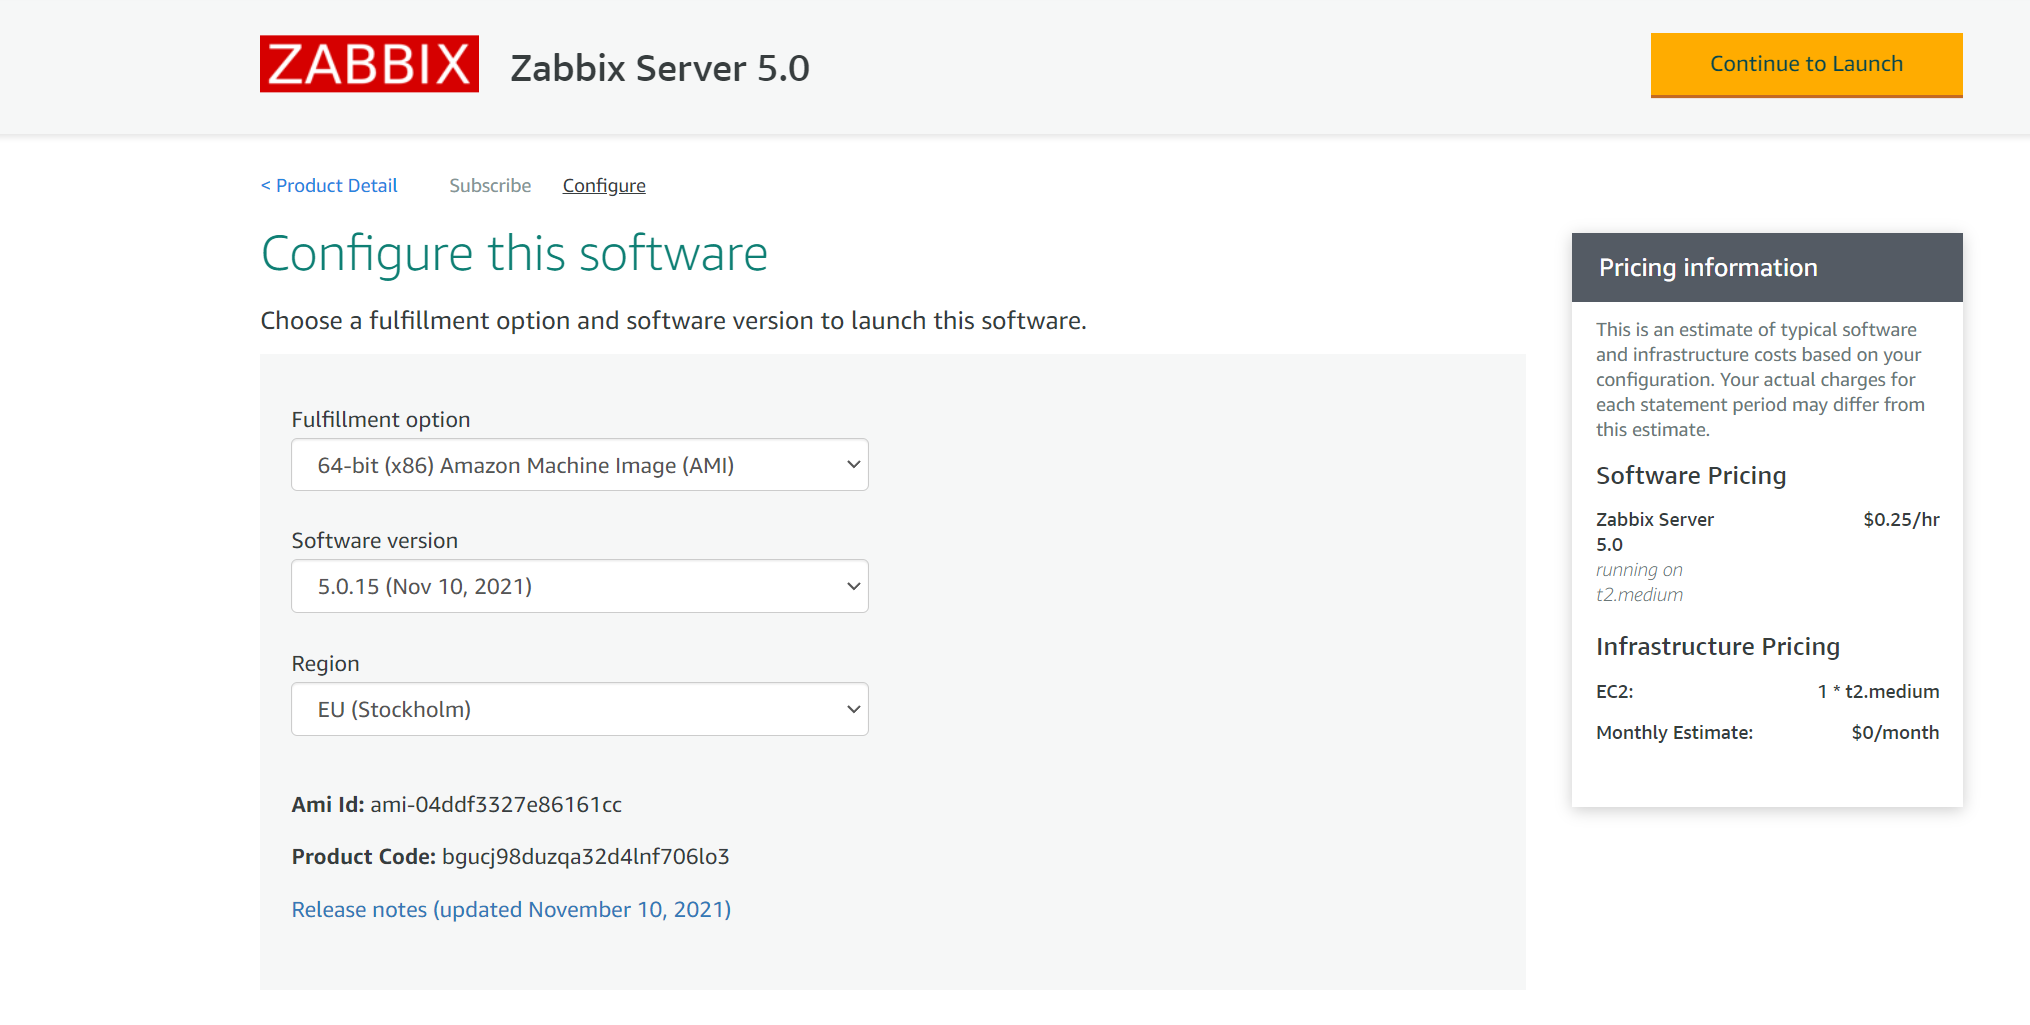
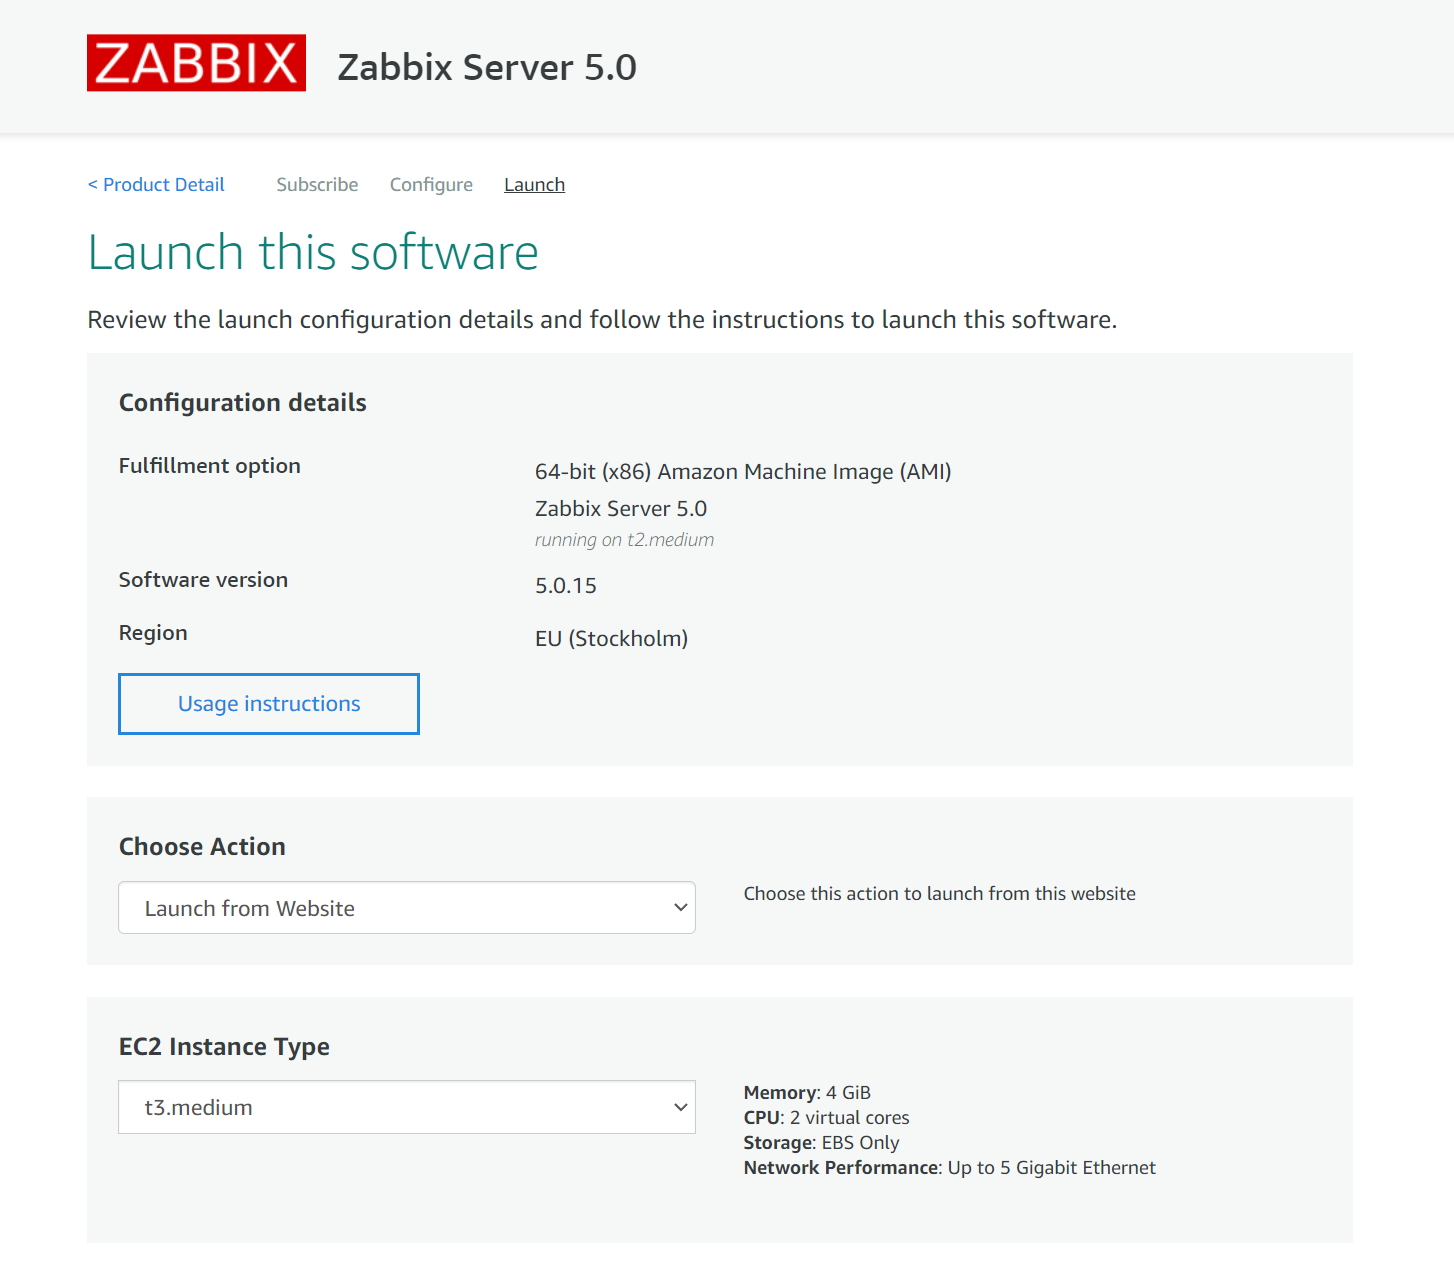
Select the preferred Launch option, EC2 Instance Type, VPC, and Subent settings on the Launch page.
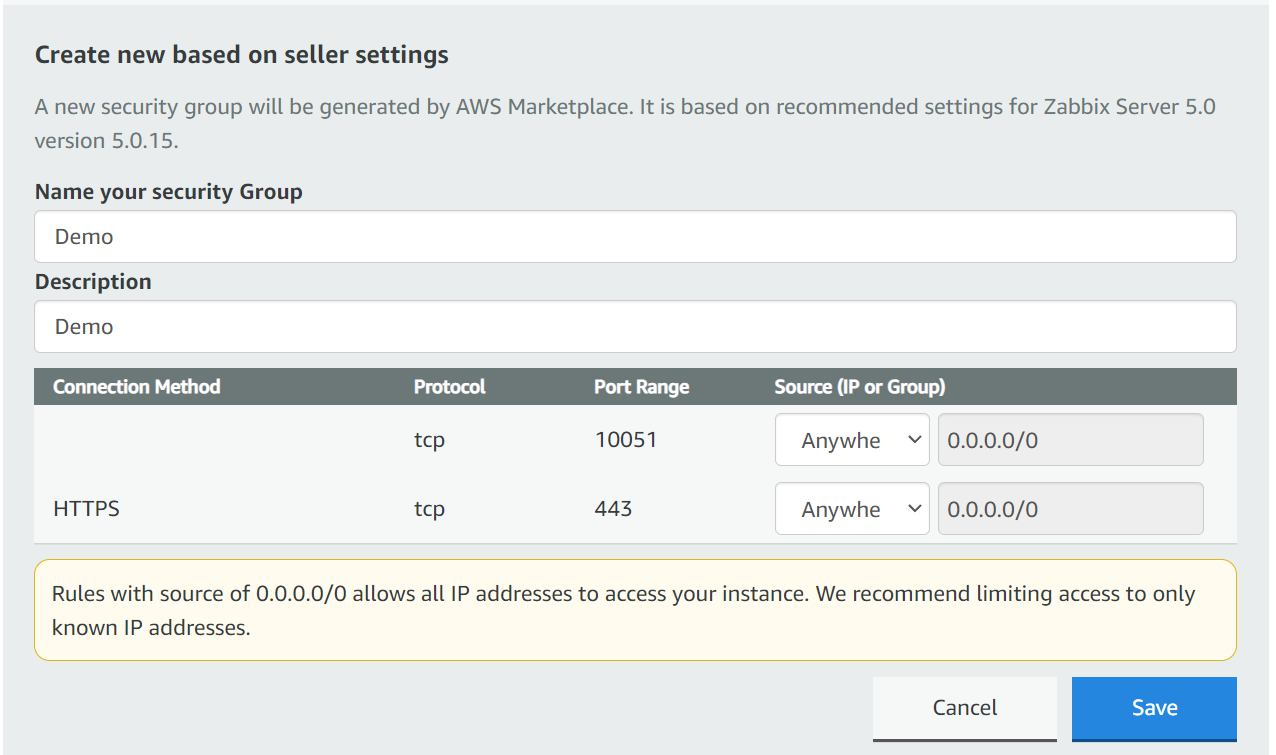
Next – We have to select or create a security group.
We also have to select or generate EC 2 Key pair – make sure to save your private key in a safe location!
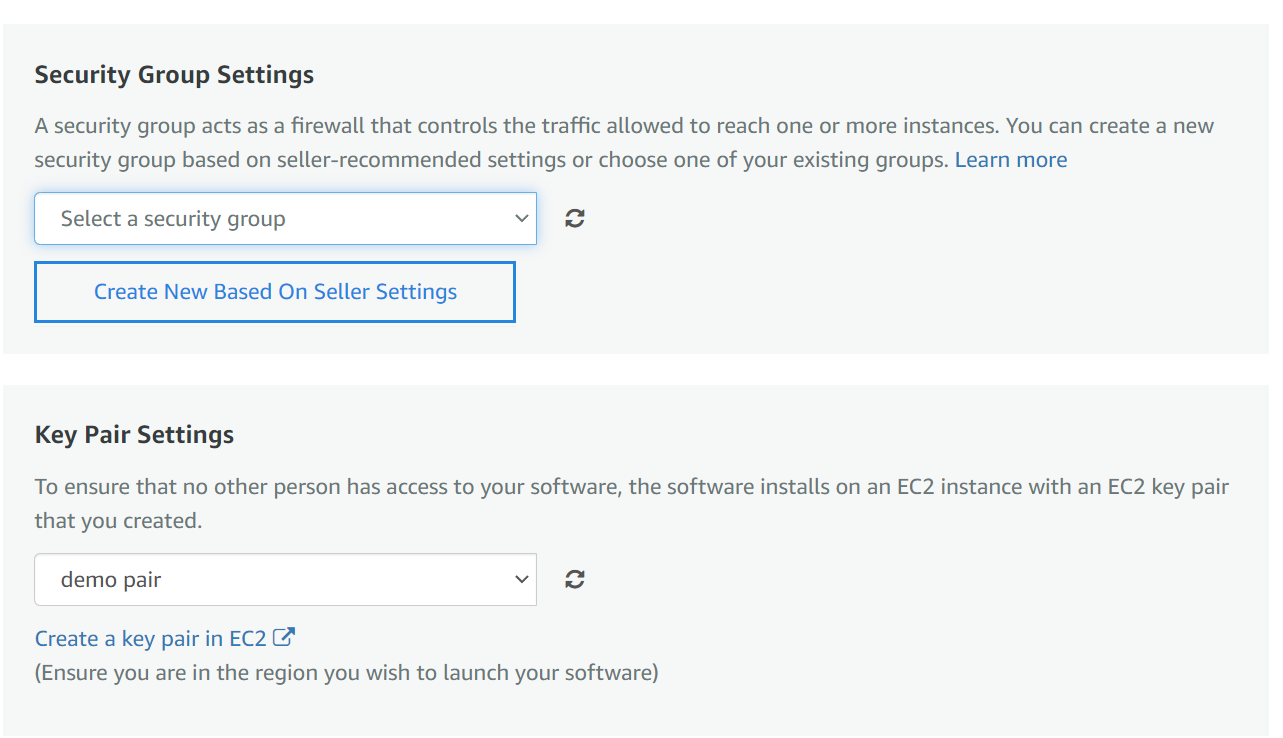
Note that creating a security group based on seller settings does not guarantee that the group will have an inbound SSH access rule! Make sure to double-check the security group and manually add the SSH inbound rule if it hasn’t yet been added. We will need to access this instance via SSH to obtain the initial frontend login credentials!
Once you click on the Launch button, the deployment process for your Zabbix application will be initiated.
Accessing the application
Let’s open up the Instances section and open our newly deployed Zabbix instance
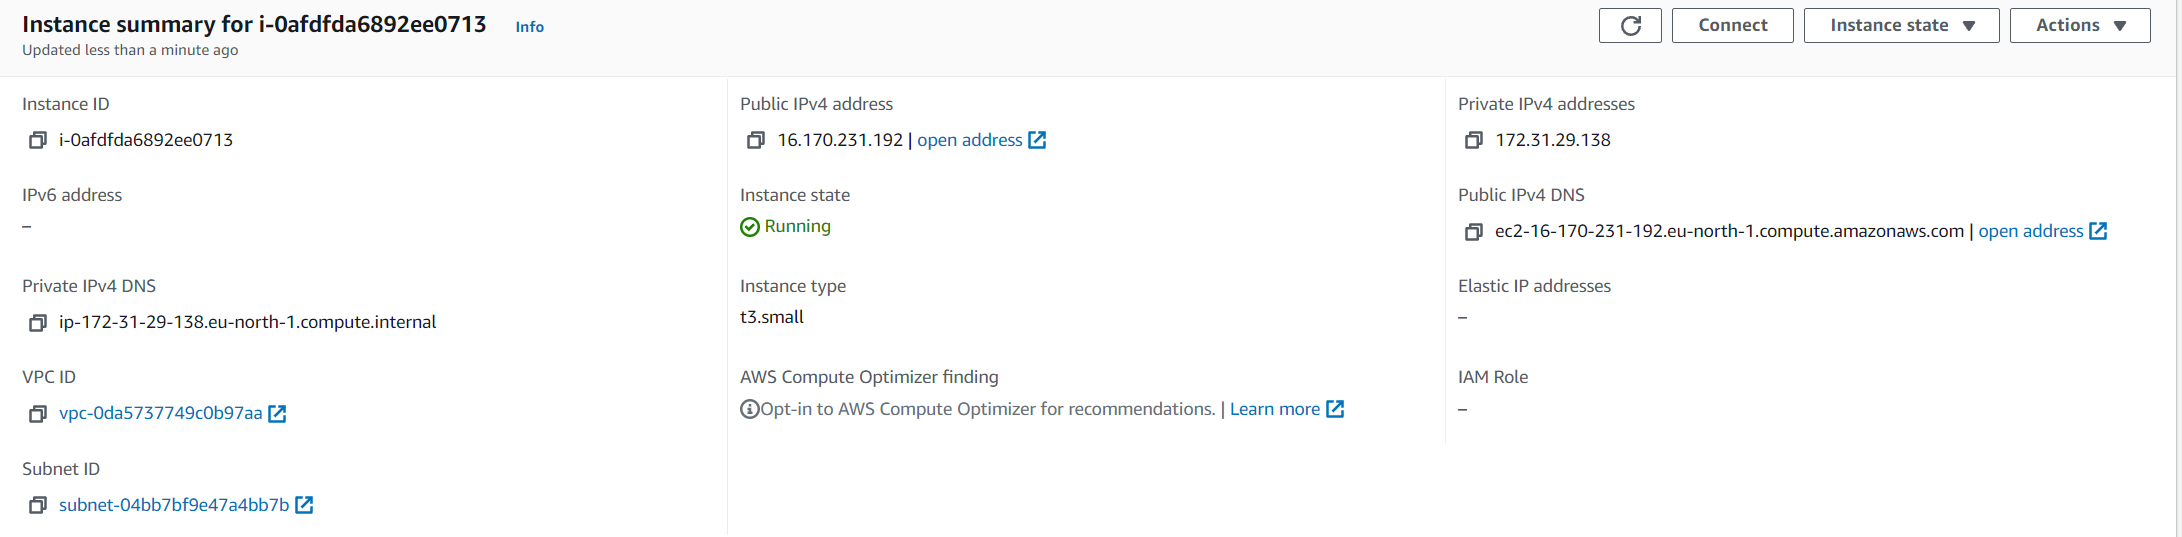
We can access the Zabbix Frontend by opening the Public IPv4 address or Public IPv4 DNS of the Zabbix instance
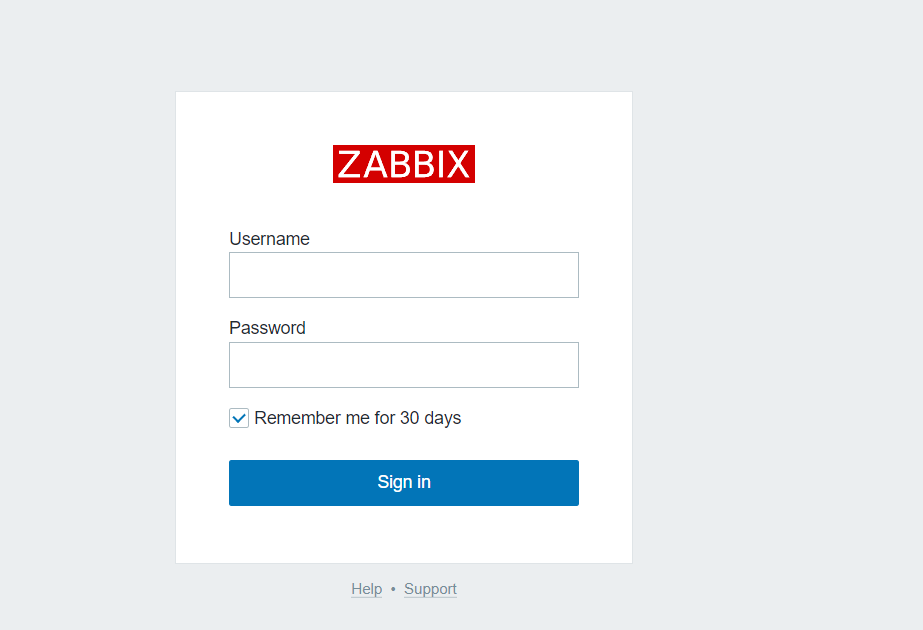
Note that the Zabbix frontend password is still unknown to us. Recall how I mention that we will need to access the instance via SSH to obtain the frontend password. Let’s do so now.

Write down the login credentials and use them to log in to the Zabbix instance.

Accessing the database
In case we wish to access the Zabbix database backend, we can do so from the command line. Zabbix database can be accessed by using the root user. By default, it can be used without a password.
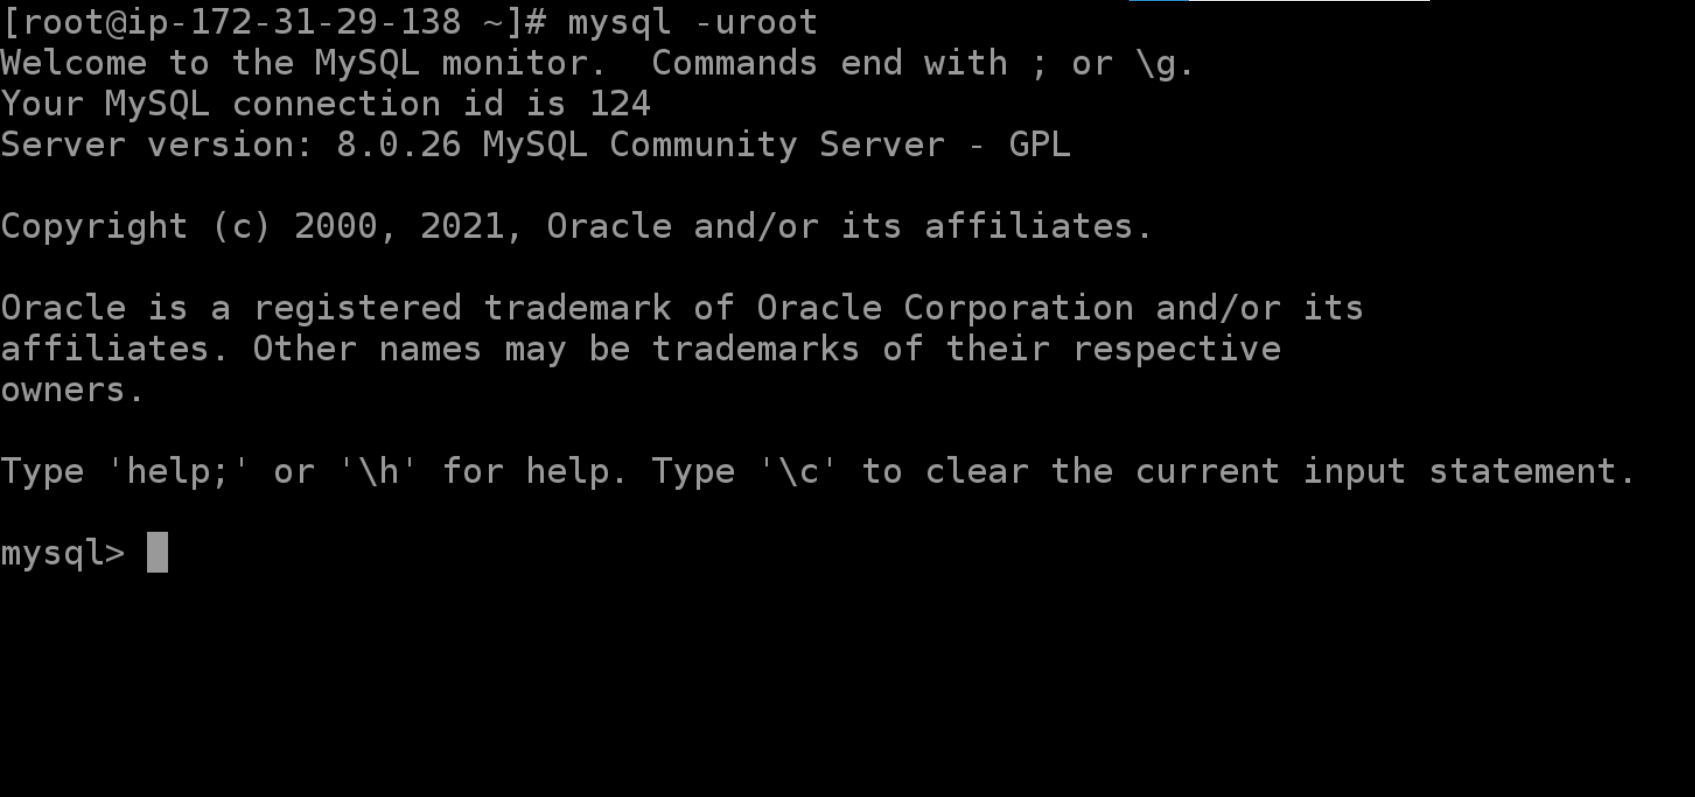
The MySQL root password is stored in /root/.my.cnf configuration file.
Modifying the Zabbix Frontend timezone
By default, the Zabbix frontend uses the “UTC” timezone. If you need to change it, edit php_value[date.timezone] PHP variable in /etc/php-fpm.d/zabbix.conf and restart php-fpm process:
systemctl restart php-fpm
Zabbix proxy
If you wish to deploy a Zabbix proxy instance in your AWS cloud, the deployment steps are very much the same. Most likely, you will still require SSH access if you wish to perform some configuration changes in the Zabbix proxy configuration file.
Note, that by default, the SQLite proxy database is stored in /tmp/zabbix_proxy.sqlite3
As always, don’t forget the point the proxy at your Zabbix server instance by modifying the Server parameter in the Zabbix proxy configuration file, located in /etc/zabbix/zabbix_proxy.conf
And that’s all! With just a few clicks, we are able to deploy a fully functional Zabbix instance or a small Zabbix proxy to distribute or scale our monitoring. Don’t forget that AWS is just one of the many cloud service providers you can use with Official Zabbix images. If you have any questions about the AWS deployment – you are very much encouraged to leave a comment under this blog post.
If you wish to learn more about the Zabbix Monitoring solution, check out the official documentation https://www.zabbix.com/documentation/current/manual/quickstart.