As Zabbix 7.0 will come with the new widget framework, allowing communication between different widgets on dashboards, of course, I had to try it out.
Table of Contents
Creating the module
The blog post title is a bit of a clickbait in the sense that this example is just 1:1 from the Zabbix Summit 2023 custom widgets workshop session. I made some very, very minor modifications to the code, mainly just changing my name and so on to manifest.json files. Since the code itself was obtained from the workshop session, I’m not going to publish it, but this much I will tease:
{
   "manifest_version": 2.0,
   "id": "whatsuphome",
   "type": "widget",
   "name": "What's up, home?",
   "namespace": "WMHostNav",
   "version": "1.0",
   "author": "Janne Pikkarainen",
   "description": "Custom host filtering widget for my home monitoring purposes",
   "widget": {
       "js_class": "WidgetWMHostNav",
       "out": [
           {
               "type": "_hostids"
           }
       ]
   },
   "assets": {
       "js": [
           "class.widget.js"
       ],
       "css": [
           "widget.css"
       ]
   }
}
Beginning with Zabbix 7.0, you can create your own custom widgets with JavaScript & PHP, and easily make other widgets on the dashboard to react to clicks you made on some other widget. The manifest.json file in the root of your custom module can describe what kind of info your widget will broadcast to other dashboard widgets, or what kind of info it will be receiving and obeying. Other than that, the custom widget only has a 2.6-kilobyte JavaScript file and a 587-byte CSS file. Modules are placed under /usr/share/zabbix/modules.
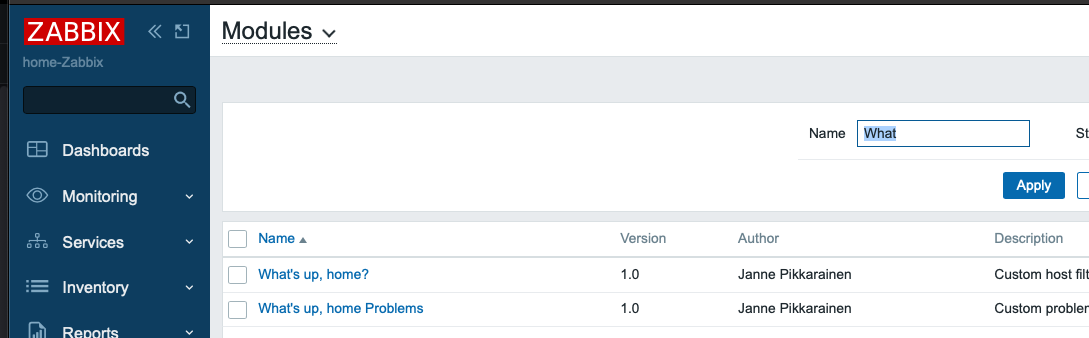
Next, just like in older versions of Zabbix, to activate your module you just go to Administration->Modules and click on Scan modules. And, there you have it.
Then, in your widgets, you can enable the dynamic reactions to other widgets or dashboard query changes like this:

Great! But what will it do?
I now have a new way of filtering the visible alerts. The custom widget on the left lists my host groups and hosts that belong to them.
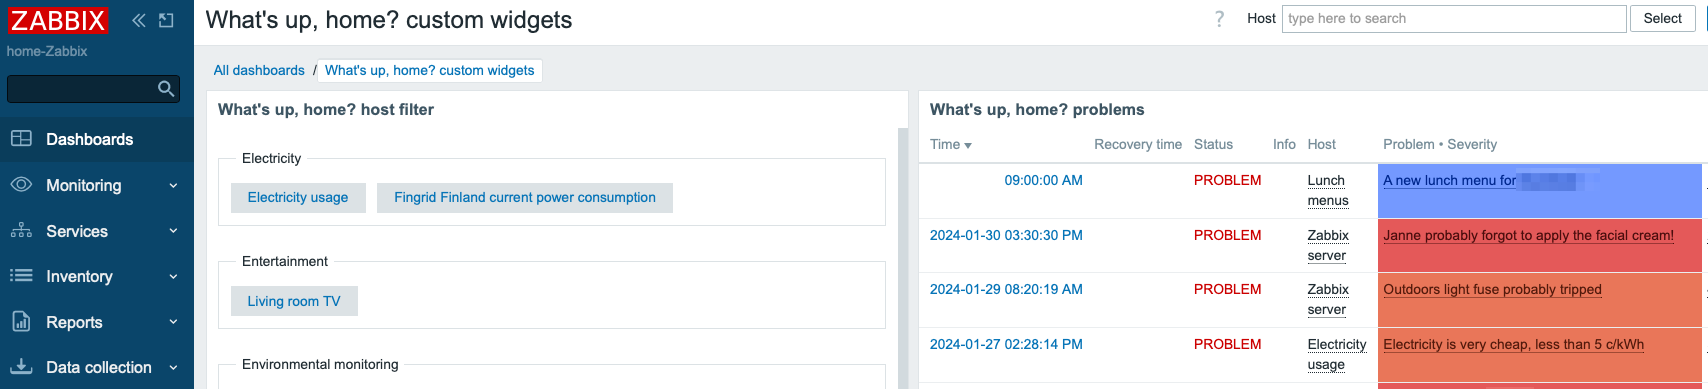
Observe what happens when I click on the Electricity usage button:
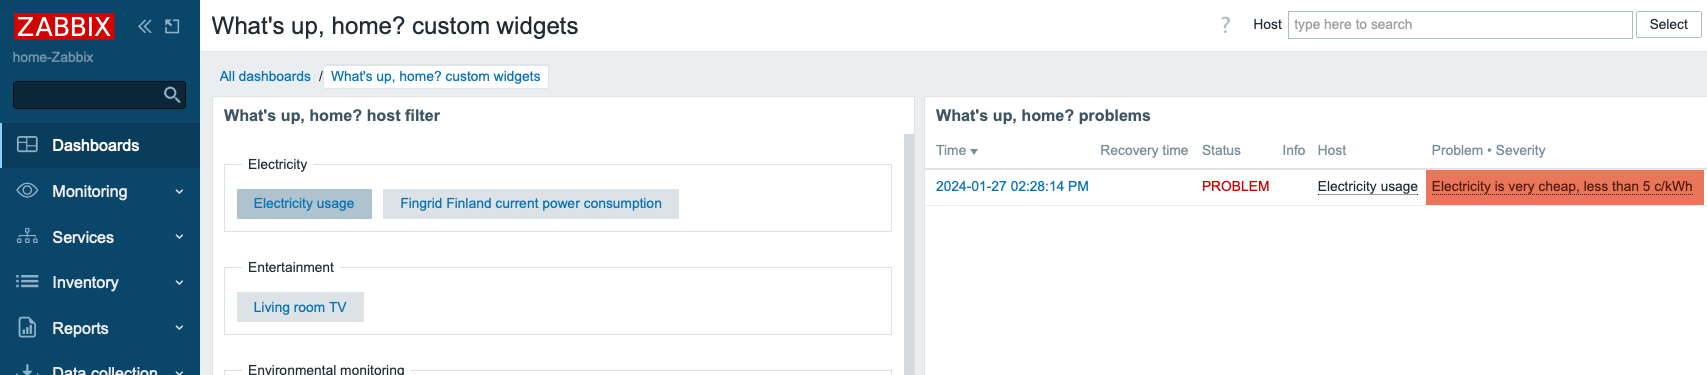
I’m not limited to only selecting one host at a time, I can click on multiple hosts. Now see what happens if I also choose Lunch menus from my hosts.

The possibilities are endless
This example is just a simple read-only example. But, as Alexei mentioned to me after my speech at the Zabbix Summit 2023, this new framework could be used for controlling stuff, too. When I have time, I’ll try to run custom scripts and do other write operations through Zabbix API and this new framework.
Having a proper control panel for switching on/off the lights, music, and other things would be really cool, and now it certainly is possible. The future of the Zabbix user interface is really exciting thanks to new custom widgets.
This post was originally published on the author’s page.